
In part 2 of our introduction into stop-motion animation, we covered pre-production. This week we continue with part 3 and will talk about equipment and software.
Cameras
Capturing your animation is an important process of creating a stop-motion animation, so to begin, let me cover a few camera options. If you own a phone with a camera, then you can use this to begin capturing your animation. Mobile phone cameras are getting better and better every year and this will be ideal for any beginner. Before you begin, think about how many images you might be taking and if you have enough memory on your phone to capture all of your animation. Most phones have an insert for a Mini SD slot. I would recommend buying one if you are going to be shooting a lot of footage and don’t want to clog your phone up with hundreds of images.
If you don’t own a phone with a camera, you could think about using a webcam. Webcams can be bought at a cheap price these days. Although the picture quality will not be the best available, these are great for beginners as you can see the live feed through your webcam lens on your pc/mac monitor. Your animations will be captured with ease and the data will be recorded straight to your PC.
If you are looking to capture a high quality top of the range animation, the camera of choice would be a high quality DSLR. In fact, recent feature films have used DSLRs (normally Nikon or Canon): for example, Paranorman was shot with a Canon EOS 5D Mark ii.
Using a DSLR will let you capture images at a very high resolution. DSLRs have interchangeable lenses and can be changed with ease. For example, if you wanted to get very close into your subject, or you don’t have much room behind the camera, a wide angle lens will be ideal for both of these situations. The different lenses and the control settings of a DSLR will give you a little more creative input and precision. Having control over all of the cameras settings including focus is important and will come second nature to anyone who has used a DSLR before.
Ultimately, any camera will do. Yes, having a high-end camera will produce better images, but the true skill of an animator will be shown in the story you’re telling, and the characters you bring to life, rather than how many megapixels you shot with.
How many frames?
I am going to give a quick thought on how many stills you should take for every second of animation. This is otherwise known as the frame rate. Because you will be moving characters and sets between each frame, it would take a lot of work to take 24 still frames for every second of animation. A more sensible frame rate for stop-motion animation would be around 12-15 frames per second, or FPS. I would say it’s even possible to go as low as 10FPS for stop-motion animation. Keep in mind that the lower the frame rate, the jerkier the animation can be. As an animator, you also have the option of choosing whether you will be animating on ones or twos. If you are going to shoot on ones, this would mean moving the animation every frame and taking a new still. Shooting on twos (you might know where this is going) means creating a new pose every two frames. You can of course vary this – a fight or chase scene, where a lot is happening on screen very quickly, might require a higher temporary frame rate than a conversation scene between two characters.
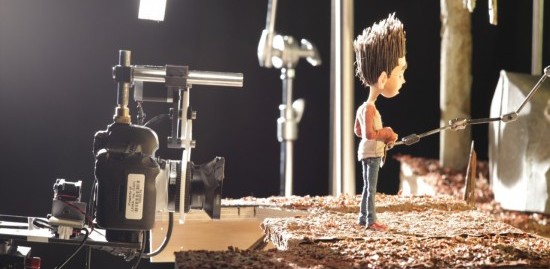
When shooting with your camera, try to keep everything on a manual setting. This would stop your camera from changing any settings, which would result in footage getting lighter, darker, changing focus etc. You will also need to keep your camera very still throughout shooting your animation. To do this you will need a tripod.
Tripod
Shooting handheld will make it pretty much impossible to capture your animation, so you will need a tripod to steady your camera. Tripods come in many shapes and sizes. If you are shooting on a phone, there are many phone mounts available that will hold your phone in place. These can now be found in high street shops/online and will keep your phone still throughout your shoot. The majority of these will also be portable, meaning you can create a stop-motion wherever you are. Be sure to check that the mount will fit your phone as some tripods are designed for certain mobiles. If you already have a camera tripod, then you will need a phone mount it. Again, these can be found from most online and high street shops and vary in price, but can found as little as £1.41 on amazon. If you are up to the challenge, you can even create your own. There are a few videos that can be found online that show you how to do this. If you are shooting down to create a 2D type stop-motion you will want to use a Rostrum camera. This shoots vertically down with the option of attaching lights to it. Otherwise, you want to use a full size tripod. This tripod can be very versatile and is one of the most common ways of shooting. This tripod can be positioned in a variety of angles/height and has the ability to pan and tilt.
Bottom line: it doesn’t have to be expensive, but whatever you use needs to be sturdy enough so that the camera doesn’t move between takes.

Lighting
If it can be helped, do not rely on natural lighting when lighting your scene. You may not notice it with your own eyes, but chances are, if you don’t have lighting equipment, the lighting will change throughout your stop-motion, as the sun goes behind a cloud and then re-emerges, or simply moves across the sky casting gradually moving shadows on the wall. You can see this effect sometimes in stop-motion videos where the lighting constantly changes throughout the video. If you are shooting indoors, shut out as much outdoor light as possible. Lighting equipment will make your animation look much more professional, whether this is using fluorescent desk lamp or a clip light. Use Eco lights if possible. Your lights will be on for a long length of time, so by using Eco lights, you will be saving energy and the bulbs will not get as hot as traditional bulbs.
Software features
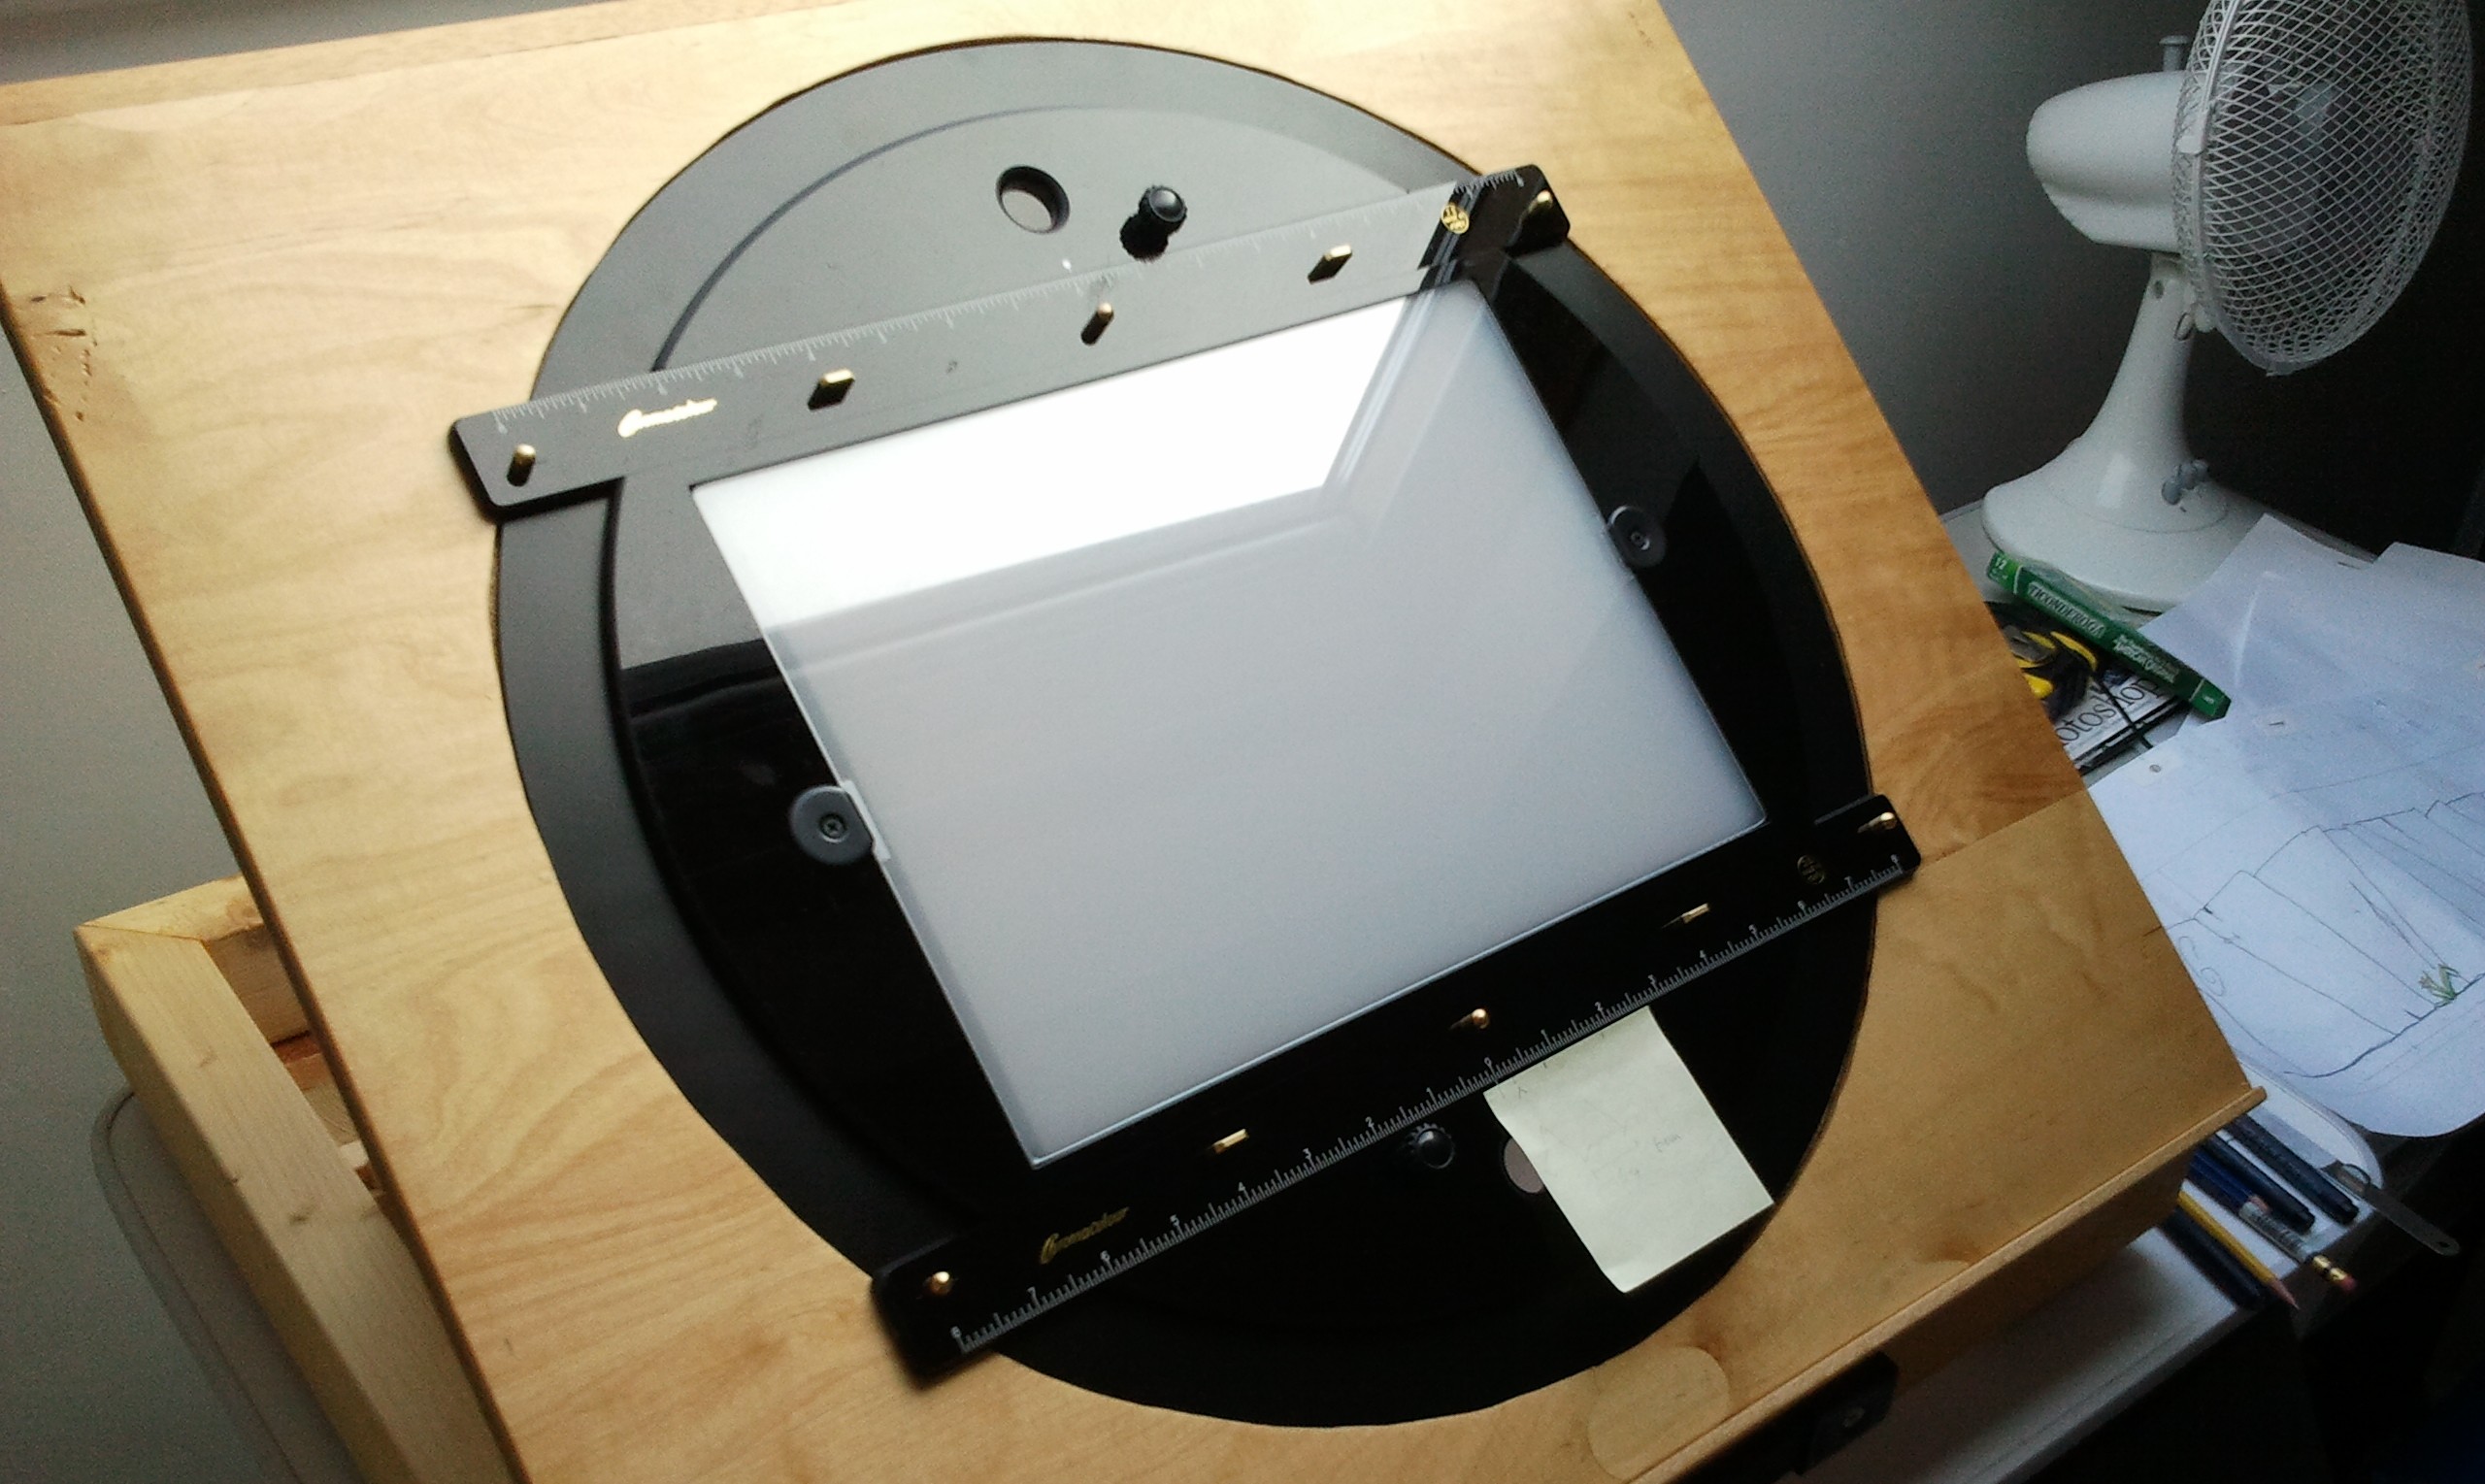
There are a few features that some pieces of software support, that will aid your capturing process. Onion skinning is a feature that allows you to view your last frame(s) when capturing your current frame. This helps with positioning your model and timing your animation. To help you understand this, there is a great online onion skin animation programme that gets you involved with the technique. In traditional animation, the onion skinning technique was created by using a lightbox. The lightbox is essentially a desk that shines light through your paper, so you can see your previous frame. (see below)
Rotoscoping is a technique that lets you trace over existing footage frame by frame. For example, if you captured someone walking, you could import this into your software and have your animation layer overlaid on top of this. Then you will be able to copy that same walk frame by frame.
Chroma keying is the removal of a background, normally by using a blue or green screen. If you place your model in front of a green background, this can be removed using software and then a background of your choice can be added in at this post production stage. There are a few things to keep in mind if you are going to use a green screen. The first would be to match your lighting setup to that of your intended background footage. For example, if the background/scene is going to be bright, with harsh shadows, then you will have to set your lighting to recreate the atmosphere of this scene so your model will fit in seamlessly. To easily remove the green screen, you will have to light it correctly. This means an even lighting overall with no shadows or marks. Having shadows cast on the green screen would only complicate the removal and you may not get the outcome you anticipated.
Software
So let’s cover mobile and tablets first! Not the most ideal way to capture stop motion, however it is a cost free way to begin shooting if you already have a phone with a camera. Available for free on the App store is Stop Motion Studio. This is an app that is free and ideal for beginners. For a few dollars more, iMotion Pro is available at $2.99. Aardman Animation have released Animate It, for £2.29. There is also a lite version available for free; however you will be slightly restricted as some of the features will be disabled. There are a handful of other apps available on the market for you to browse through, with most of them at no charge or a little charge, such as a few pounds/dollars. However, I am on Android. I don’t personally use my phone to capture any stop motion work, but there are a few apps available on the market worthy of an honourable mention. Recently Stop Motion Studio has been released for Android and can be installed for free. PicPac is also a worthy app of capturing and editing your stop motion. Clayframes is also available at £1.99 on the Play Store. For 2D tradition animation, RoughAnimator is available for £1.97 and has quite a few configuration settings. For time-lapse material, I use Lapse It-Time Lapse Pro. At £1.99, the app really has a large number of settings to let me customise my time lapse videos. The app also renders the frames in-app and lets you select playback speed. As an alternative, there is nothing to stop you from shooting on a phone and then editing later on a PC. However, without suitable capture software, it might prove difficult to review on location.
Moving onto PC now, if you’re looking for some free software to help capture stop-motion, you can’t go wrong with Helium Frog. For a free piece of software, it’s quite important to note that it also has important animation features such as onion-skinning, roto-scoping, Lip-Syncing and chroma keying. There is also a documentation section on the website to refer to, just in case you have problems with the software or generally want to find out more about it and what each section does. Another free piece of capture software is Monkey Jam. However the difference with Monkey Jam is that this software is designed to capture pencil and paper animation. There’s a desktop PC version of Aardman’s Animate It, too, available for £19.99. If you are using a Mac, iStopMotion3 is available to you for $49.99. The price of this software has been reduced drastically for the latest version 3. There is a trial version of this that can be downloaded and used for 5 days. Personally I think that trial versions are always important to use/ try out before you buy any piece of software. IStopMotion3 also comes with a handful of useful features.
The best image capture software out on the market at the minute is (in my opinion) Dragonframe.
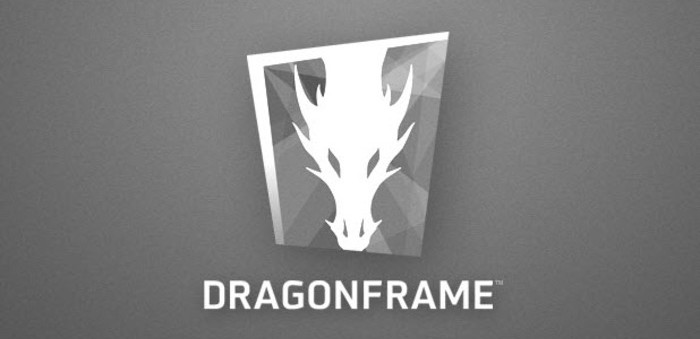
This does retail at $295, so it probably isn’t something you’ll buy on the off-chance, but if you’re serious about stop-motion animation, this would be a worthwhile purchase. It has been used to capture recent feature films such as The Boxtrolls (2014, Graham Annable, Anthony Stacchi) and the Shaun the Sheep Movie (2015, Mark Burton, Richard Starzak). This piece of software has a number of features and I will cover just some of these. It supports a lot of cameras and excels in particular with Nikon and Canon DSLR cameras that support the Live View feature. Using this feature, you can control the cameras settings through the software and see this change in real-time through the software. Included with Dragonframe, there is a keypad that lets you control the software remotely rather than from the laptop/desktop. This saves an animator time so he/she doesn’t have to revert back to the keyboard after every frame of captured footage. When you are animating this way, you may find it useful to use an extra monitor close by to refer to. The software supports onion skinning, meaning that you can see your previous frame(s) as a transparent layer. Reviewing your images and playback is something that the software handles with ease. This will help you catch any errors quickly and let you configure your scene swiftly. Make sure you record your audio before you shoot and drop it into the software. This will aid you much more when lip-syncing. Animating first and then recording audio to lip sync will prove to be problematic. Rotoscoping is another feature that may be useful. This means you can use an image/movie and use it as reference while you shoot.
Ok, so that’s as much as I’m going to cover about capture software. The only other piece of software you will need is an editing package to put everything together and output your final video. What post production you need is completely up to you, but is worth thinking about way before shooting and should be kept in mind during pre-production. Will you be including music? Sound effects? Will you need text and/or graphics? There are several pieces of software that are capable of this and I will cover a select few that range in price. For Windows owners, perhaps the most obvious one is Windows Movie Maker. It’s perhaps not the most advanced piece of software, but it does come preinstalled on Windows. If you have a bit of a budget and want to create a professional production, Adobe Premiere Pro and Adobe After Effects may be for you. You can now buy Adobe software on a subscription basis and pay monthly, although both of these Adobe products do have trial versions available to download, so I would recommend trying before you buy. For Mac users, iMovie is available at £10.99 and is fully capable of editing your work. If you have a bit of a budget for your work and are working on a Mac, then I would also recommend Final Cut Pro to edit your work. The current price stands at £229.99. Very user friendly and it shouldn’t take too long to become familiar with the user interface.
Thankyou for reading part 3 of our introduction to stop-motion animation. We hope this has inspired you to start creating a new stop-motion animation! Next week we will posting our last post in this series. We will be covering little facts about stop-motion and also providing our personal further reading/viewing material.